How to photograph natural landscapes with natural light
Timing, light direction, composition, and field precautions for photographing landscapes using only natural lighting — including with a phone.
- Published on
- Author
- Natural Horizons editorial team
- Reading time
- 7 min read
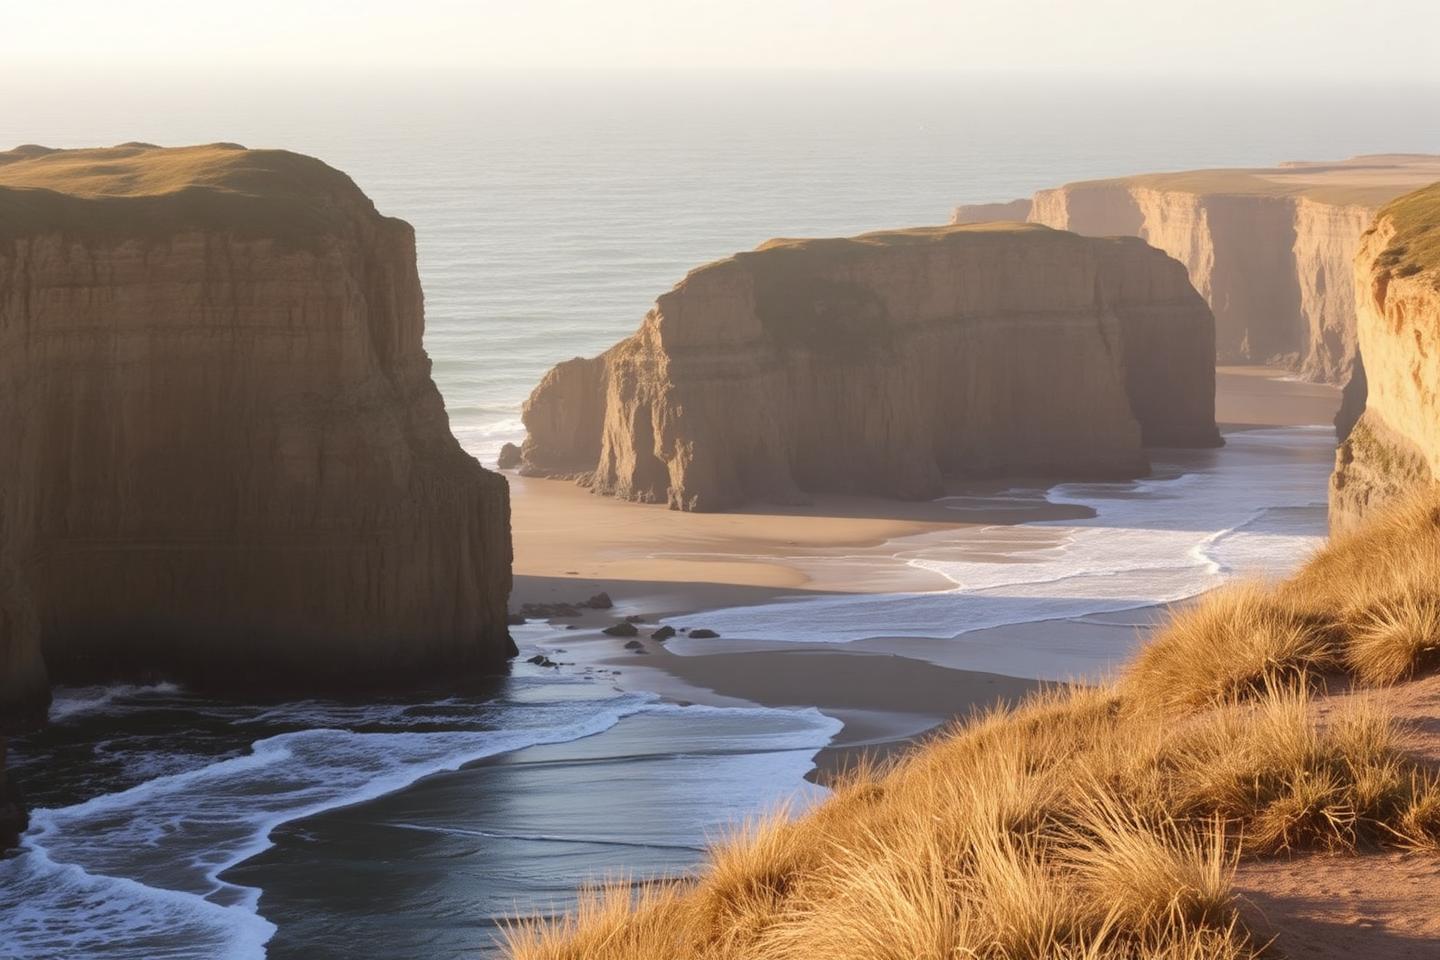
In landscape photography, equipment matters less than the moment you press the shutter. The same view produces completely different images depending on the sun's height, the clarity of the air, and the direction of the light.
The times of day that change everything
- The first hour after sunrise: low light, long shadows, and warm colors.
- Midday: high contrast and harsh shadows — difficult for wide landscapes, useful for clear water and texture detail.
- The last hour before sunset: strong volume and well-defined relief.
- Twilight: soft, uniform, bluish light, good for wide scenes without direct sun.
Direction of light
Side light reveals texture and depth: it's the standard choice for mountains and dunes. Front light illuminates evenly and flattens relief. Backlight creates silhouettes and highlights mist and suspended dust, but requires careful exposure to avoid losing detail in the shadows.
Composition
A landscape works best with three legible planes: a foreground with a concrete element (a rock, a trunk, a bend in the trail), a middle ground, and a background. Without a foreground, wide shots tend to look empty.
The horizon line
A horizon in the center divides attention. If the sky is the subject, lower the line; if the subject is the terrain or the water's reflection, raise it. And keep the horizon level — subtle tilts bother viewers even when they aren't consciously noticed.
Photographing with a phone
- Clean the lens: it's the most common cause of images with a milky glare.
- Tap on the brightest area to adjust exposure and avoid a blown-out sky.
- Prefer the main lens over the digitally zoomed one.
- Rest the device on a firm surface when light is low.
Precautions in the field
No photo justifies leaving the trail, stepping on fragile vegetation, approaching animals, or advancing over unstable edges. In many protected areas, drone use requires prior authorization or is banned outright; check the site's rules before bringing equipment.
Conclusion
Photographing landscapes well is, above all, a matter of being in the right place at a good time and having the patience to wait for the light. The rest is fine-tuning — and practice.
More articles
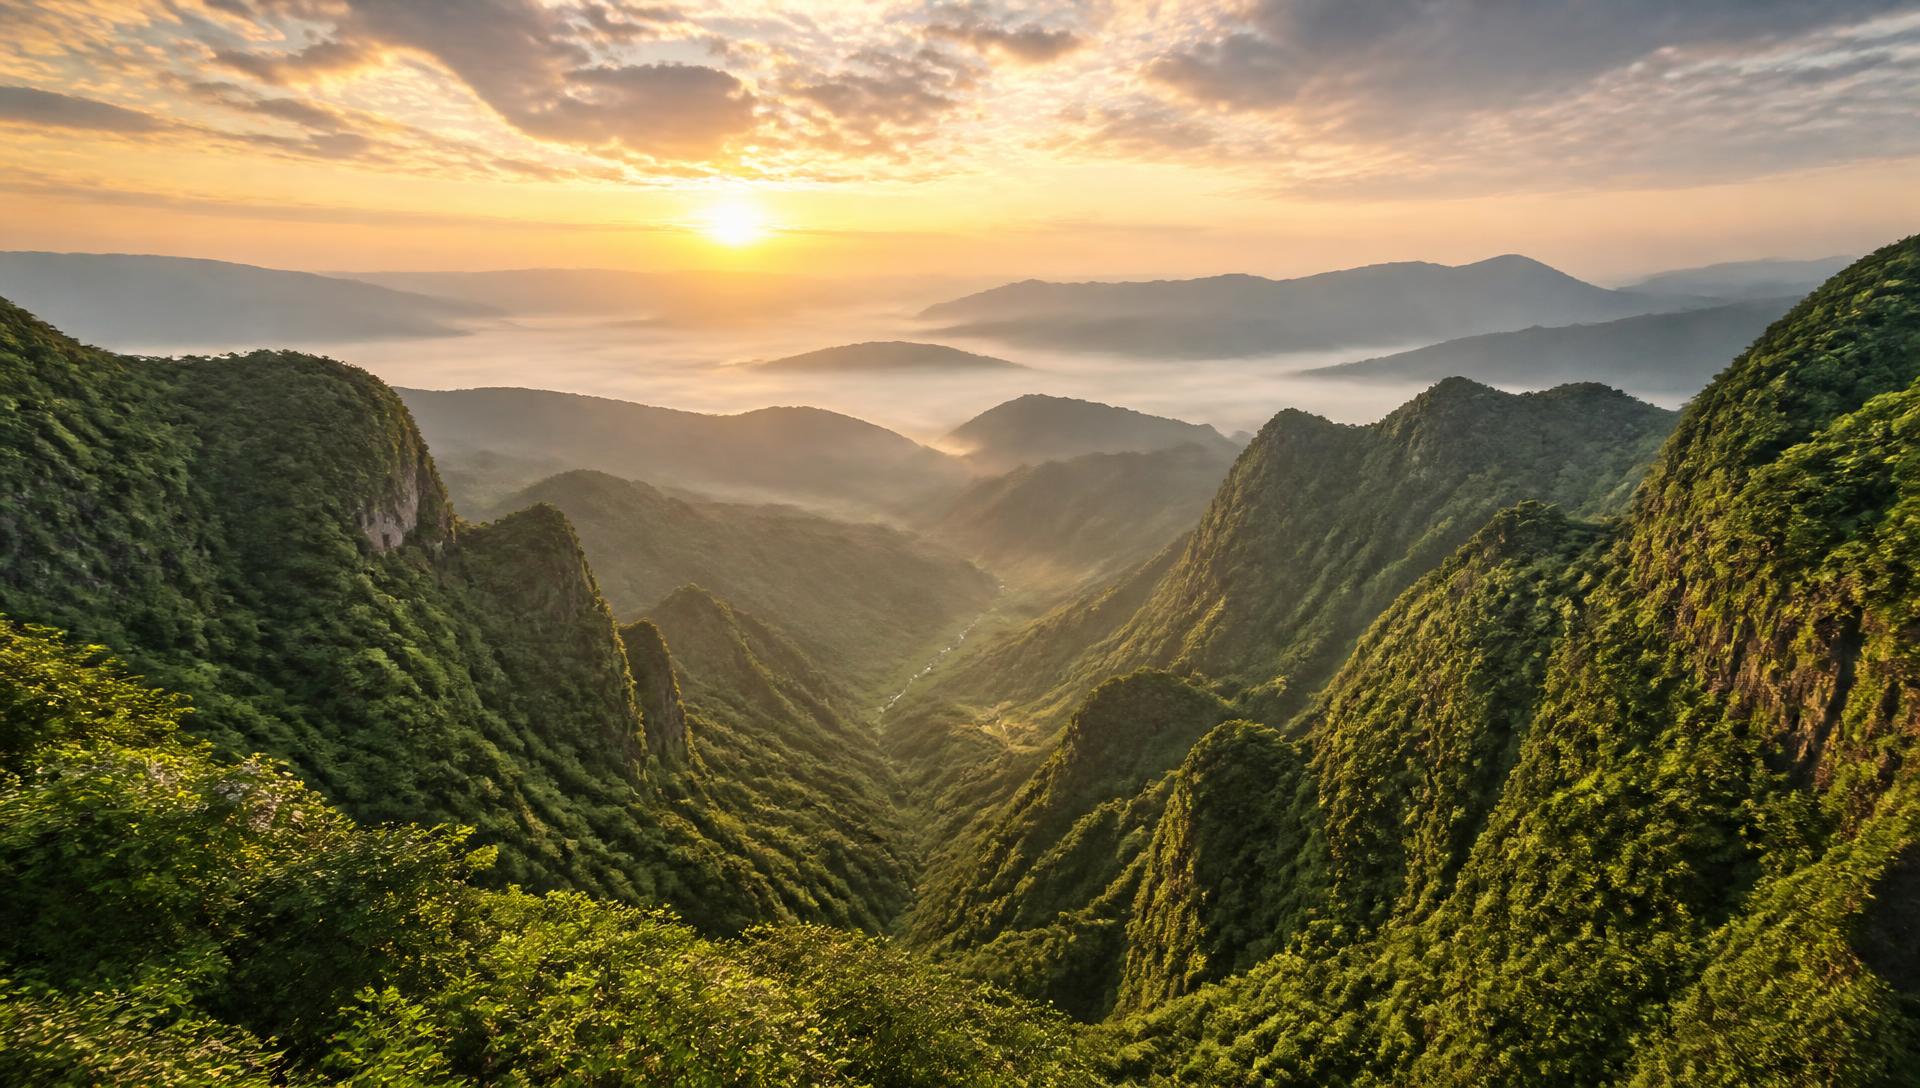
A guide to observing landscapes without leaving impacts
A practical low-impact observation routine: where to stop, what to record, how to use equipment, and how to turn a visit into a lasting memory.
Coastal landscapes and their transformation over time
Cliffs, dunes, sandbanks, and beaches in constant motion: how waves, tides, and wind redesign the coastline and what that means for visitors.
Newsletter
Get new stories and inspiration about natural landscapes straight to your inbox. Signing up is optional and you can unsubscribe anytime via the link in every email.